Showing posts with label Linux. Show all posts

Using bash variables in sed command

Bash commands such as awk and sed are very handy tools when dealing with text files. For example, if line 30~70 in a pw.out file are the atom coordinates, we can simply type in the terminal:
$ sed -n '30,70' pw.out

and line 30~70 will show up on the terminal.

Things get tricker when the line numbers are variables. Often times we want to use sed in a bash script, and we need to use bash variables. However sed doesn't understand the normal bash variable substituion: $variable. For example, bash doesn't recognize: sed -n '${linehead},${linetail}p' file.

I got stuck on this for a while and more than one time, so I decided to write it down here. The way to get around is to first created a string that contains the whole sed argment (sedarg below), and put the whole string after sed command with eval in front.

#!/bin/bash
sedarg="-e ${line_head,${linetail}p' file
eval sed -n "$sedarg"

There you go. I love sed. I could've loved it even more if this wasn't an issue.

Variable substitution in awk is totally another issue (which is as annoying). I will write it down next time when I have to google it again.

[awk] using shell variable

Shell variable can be ported into awk command by using "-v" flag:
#!/bin/bash
var=100
awk -v var=$var '{print $1*var}' file.dat
An important note here is that within the awk command, calling the var does not require the '$' sign.

If there are more than one shell variable to call, use -v again and put space in between:
awk -v var=$var -v var2=$var2 '{print $1*var, var2}' file.dat
This will print $1*$var and $var2.

Gnuplot with script

Gnuplot is a software in Linux machine that let you plot and fit your data.  It has an interactive interface, or if you prefer, you can plot data with a script.

Here's an example of a script that plot a file in postscript, and convert it into png file: The communication with gnuplot is enclosed by the two "TOEND". In side the TOEND, type in all the commands that you'd like gnuplot to do for you. If you'd like to use linux command to manipulate your data, i.e. awk, you'll have to add "\" when you use the "$" sign. For example if I want to make the x values 1000 times smaller :
   plot "<awk '{print \$1/1000, \$2}' input_file"

Otherwise, if you only have "$1", the compiler will think it is the variable of the script itself.

After create the image in postscript format, the convert command (ImageMagick) could convert .eps files into .png files. The size of the png file can be controlled by the -density option.

This is really handy and makes the png plot in one press of enter.

[ Update 03/07/2012 ]
The 'convert' command is within the ImageMagick. With the update of ImageMagick to 6.7.5-10, extra arguments are required to create a PNG file with white background and smooth text.
convert -background white -alpha remove -density 150 plot.eps ${outputfile}
The default background for converting to PNG seems to be transparent in the latest ImageMagick (6.7.5-10). We need to remove the transparency (alpha) channel (-alpha remove), and assign the background to white (-background white).

[Python] Read data into array

This article is a follow-up of my previous perl script to manipulate data in a file. After I posted my question on a social website, I've received a lot of people encouraging me to do it in Python.

Some advantages of Python over Perl are: easier to maintain, easier for other people to read, and even google programmers use it. And there is claim out there saying that if you know C++, you could easily pick up Python. (Alright, I have to admit that the main reason is that googlers use it ..)

So I started learning Python and trying to write a Python script to do the same task:

  1. read in data from a file
  2. and store elements in arrays
  3. do simple calculations
  4. output result

In this Python script, it also takes input file name in the argument. First we need to import two modules:

   import os
   import sys
The os module allows us to work with files and directories. The sys module enables use to take arguments.

   filename = sys.argv[1]
As in C++, the first argument (argv[0]) is the name of your script. Here we assign the variable filename to our input file.

   lines = [line.strip() for line in open(filename).readlines()]
This statement reads in lines from the file, and strip off the spaces before and after each line. I personally found this command pretty intuitive. One thing I need to get used to is the use of for ... in . This is how for loop is used in Python, which is very different from C++. Now each of the lines in the file are stored in lines. To access each element in it:
   for i in lines:
       row = i.split()
       id.append(int(row[0]))
       y.append(float(row[1]))
The split() function split each elements into respective items (row[0] and row[1] in this case). The split() function can take delimiters, i.e. split('\t'). However I found it works the best just leaving it blank. The id and y arrays are used to store values in each column. We need to claim them before they are being used:
  id = []
  y  = []
The [] denotes empty array.

Once we have the values stored in arrays, we can easily manipulate them. To output the results, we could use the open function:

  output = open("output.txt",'w')
  for i in range(len(y))
        output.write("%2d\t %12f\n" %(id[i],y[i]))
  output.close
The % sign helps us output the format we want.

I might spend more time writing this Python script than I did my for perl one, but it is easier to follow. And also because the indent rules python requires, so the code looks more neat.

Hooray! My first Python code!!

[Perl] Read file and store data in arrays

I use c++ to do most of my analysis. Sometimes, I might want to do some small calculations on the results from c++, and it can be executed faster with a script. I've used bash script to get certain information in c++ output files. While bash script might be handy to use, it can only do integer arithmetic. I have two columns of data, in which I want to manipulate the values in the second column. After realizing that bash script wouldn't do floating-point calculation for me, perl became my next option. To be honest, I've never used it, never seen one single perl script before this evening. All the credits of my Perl script go to the forums on the web, and people who contributed to those threads. What I wanted to do is simple, but I found it is really hard to get a direct solution by googling around. I use pieces of instructions and examples from more than 10 webpages. My hope is that by putting together what I learnt tonight, newbies to Perl would understand how to:
  1. read in data from a file
  2. and store elements in arrays
  3. do simple calculations
  4. output result
Maybe the reason that there's no direct solution is that there's a much easier way out there than using Perl. But anyway, here's the script: 
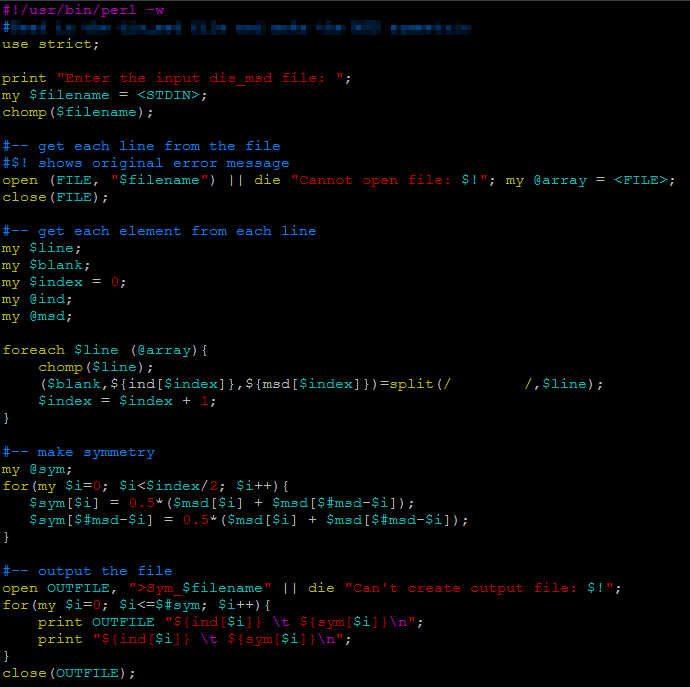
Perl is similar to c++, one big difference is that for every variable, a "$" sign need to come before it. First ask user to input the file that will be read in:
   print "Enter the input file: ";
   my $filename = <STDIN>;
my is used to declare a variable locally. With the use of "use strict", if we use a variable without defining it, Perl will show an error message. <STDIN> is what being typed by the user at the command prompt. It stands for standard input, and can be abbreviated by using simple <>. One thing you might already noticed is that unlike bash script, Perl requires a ";" at the end of a command, which is the same as c++.

After getting the input file name, we first read in each line of the file:
   open (FILE, "$filename") || die "Cannot open file: $!";
   my @array = <FILE>;
   close(FILE)

Each line in the file will be stored in the array. In Perl, an array is defined with a @ sign, and a scalar is defined with a $ in front of the variable name:
   my $line
line will be used to store one value.
   my @ind
ind will be used as an array.

Now that we have each line stored in array, we want to extract the elements and assign them to array @ind and @msd:
   foreach $line (@array){
          chomp($line);
         ($blank,${ind[$index]},${msd[$index]})=split(/        /,$line);
         $index = $index + 1;
   }
In the foreach loop, we first use chomp function to remove the newline character in the string. When reading data from user or from a file, usually there's a newline character at the end of the string. My input file looks like this:
        1        3.5555
        2        4.0233
        3        3.5099
        ..        .........
        ..        ..........

There's a huge blank space before the first column (it has to do with the way my c++ code output the results). The split function allows you to define what the deliminator is in each line of your array. I was able to store each column in respective array by storing part of the blank space in front in another variable $blank, which I had no intention to use afterwards.

After storing the data into those arrays, I can do calculations with those numbers.
If I would have a c++ code to do the same thing, it'd take me just a couple of minutes. But I like the convenience that scripting language could give me: execute the program without compiling it. Compiling a code meaning to add an addition executable file to the folder. If you have more than one executable, you need to name them in a reasonable fashion so that you know which one does which function. Usually, in this case I just recompile the code so that I'm certain the executable I'm using is the right one. Using scripting program not only reduces the number of files in the folder, but also eliminates the hassle of compiling codes.

Maybe the awk function could do this a lot easier than what I'm doing here. I'll try to expand my horizon to this field .... sometime when I finish my ChemE degree at Penn State.

Send attachment using mutt

Update [7/27/2011]: It doesn't work well with file containing texts (i.e. .cpp files). When I send a code or a data file, the file I received in the Attachment folder has texts all messed up.

I'm trying to use gnuplot to generate plots when I'm working on the cluster.  While both my laptop and PC at the office are Window OS, the most common way is to use file transfer software such as WinSCP. Although WinSCP is pretty handy to use, it is sometimes a pain in the ass to progress through many sub folders and then download it to the correct place on the Windows machine.

Most of the times the plot downloaded goes directly onto a powerpoint slide where I share my progress with my advisor through dropbox.  So I came up with this idea: Send the image as attachment to dropbox! This requires you to have a dropbox account and a email software installed on the remote linux machine.

I use mutt to send the attachment to my dropbox folder.  Dropbox has this function called: Send to dropbox. You'll be able to create an email address that will link to a folder called "Attachment".  Once you set up this "send to dropbox", the Attachment folder will be created. Below is a short script to send a file to my dropbox:

This script takes one argument: The path to the file you want to transfer to your dropbox ($1). It usually takes about 30 seconds until dropbox receives the file.  The time for using WinSCP and using this script are pretty much the same.  I'm happy about this script simply because it allows me not to move my hand over to the mouse.  After all, I'm more a key-board person.

Create/Remove shortcuts in Linux

To access a sub-sub-sub-sub-..... folder every time you log on to do your work might be a pain in the ass.  Although combining the first letter of consecutive folder names and 'tab' can make it faster.  If you are accessing the specific folder frequently, there is a way to save the hustle: Symbolic links. Symbolic links are similar to the shortcuts on Windows OS. It creates a link pointing to a file or a folder.

To create a symbolic link:
   ln -s [file/folder to link] [path of the link]
For example, to create a shortcut at my home directory that points to a folder ~/group/kxl281/Lammps/PEO/LJC/10/prog/dielectric_const/, use the syntax:
   ln -s ~/group/kxl281/Lammps/PEO/LJC/10/prog/dielectric_const/ ~/

The ~/ stands for the home directory. Now, I don't have to navigate to the original path to work on the dielectric_const folder. I could simply access it through the link.
The symbolic link also works for files. You could make a shortcut to access the file without making a duplicate.

To remove a symbolic link:
   rm [filename]


Note that if the symbolic link points to a folder, there shouldn't be a '/' at the end of the file name. For example, if I want to remove the shortcut I created above pointing to the dielectric_const folder:
   rm dielectric_const
without the slash (/).